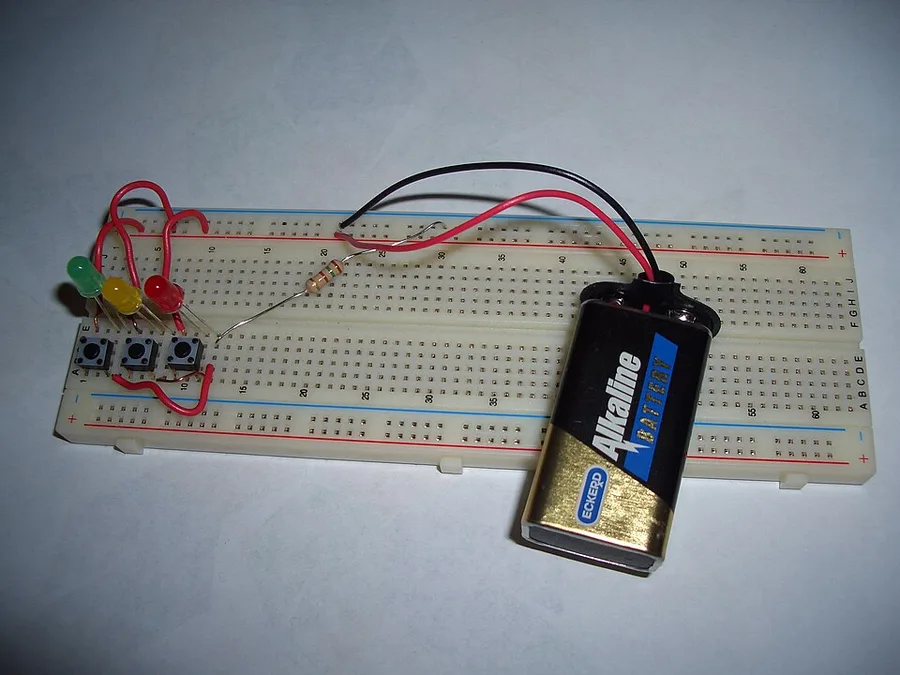
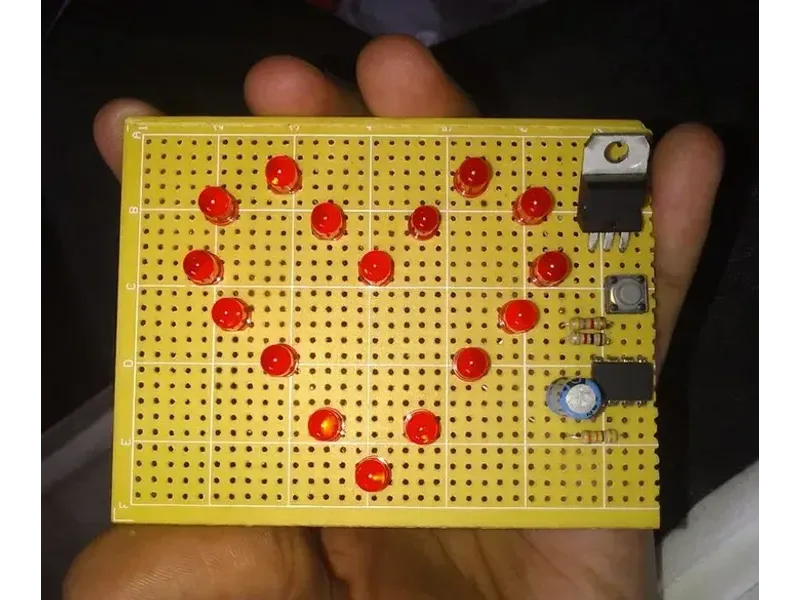
LED heart!!
Build a heart out of LEDs on a breadboard. Lay it out however you want. Fastest working heart wins a $10 Tims card!
Breadboard
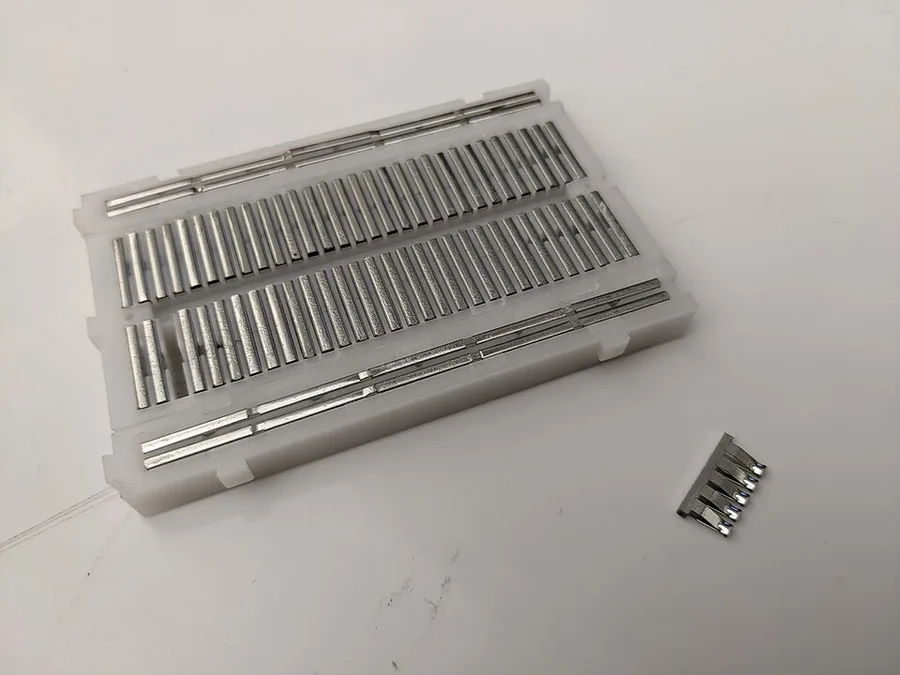
A breadboard lets you build circuits without soldering. Push a leg into a hole and a metal clip inside grabs it.
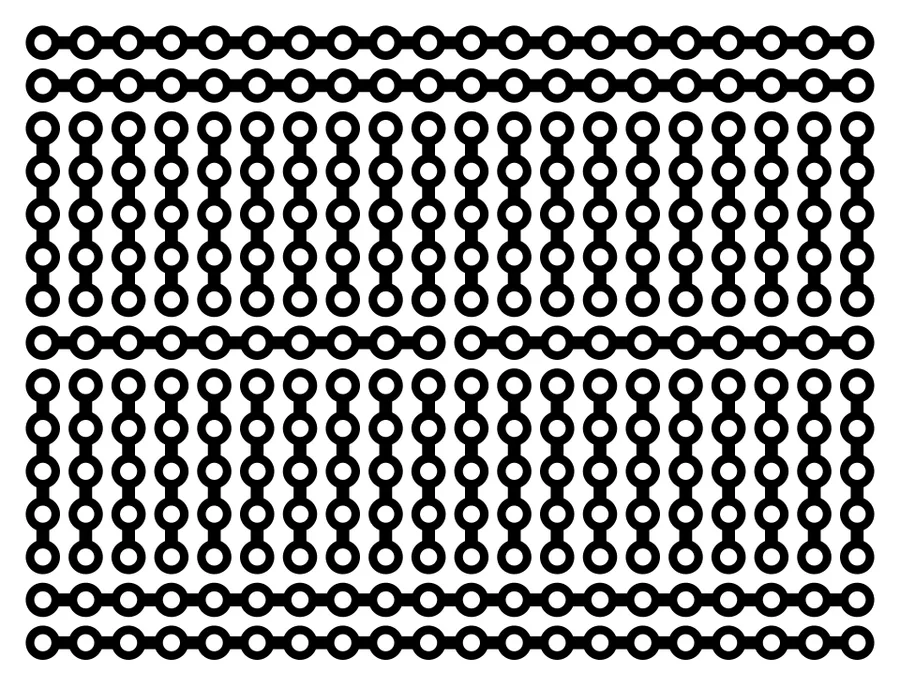
Each line of 5 holes is one metal strip. Anything plugged into the same 5 is connected. The gap down the middle splits them, so the two sides are not connected.
The long lines on the edges are the power rails. The whole line is connected. Your power goes here: + on red, − on blue.
LEDs
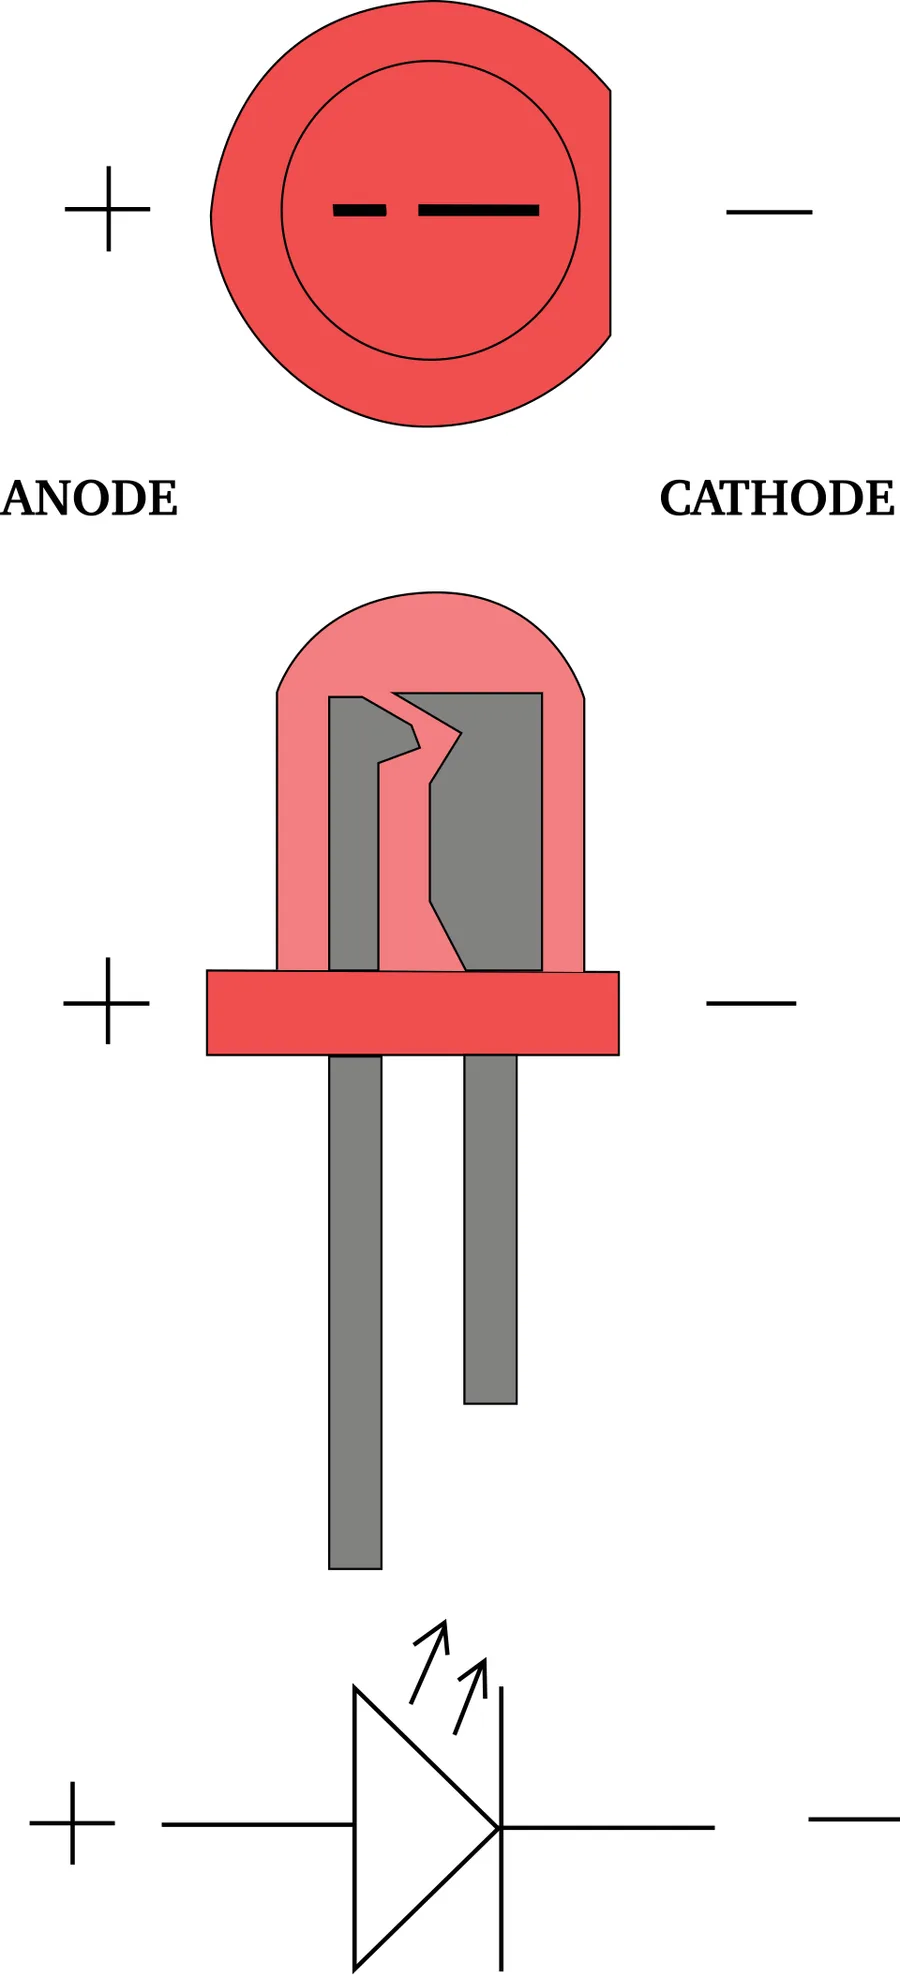
LED = light emitting diode. A diode only lets current flow one way, so an LED only lights up if it's the right way around.
Long leg = + (anode). Goes toward power.
Short leg = − (cathode). Goes toward −. The rim has a flat edge on this side too, in case the legs got cut.
Don't burn your LEDs!!
An LED can't limit its own current. Plug it straight into 5V or 9V and it pulls way too much, gets hot and dies, sometimes with a pop.
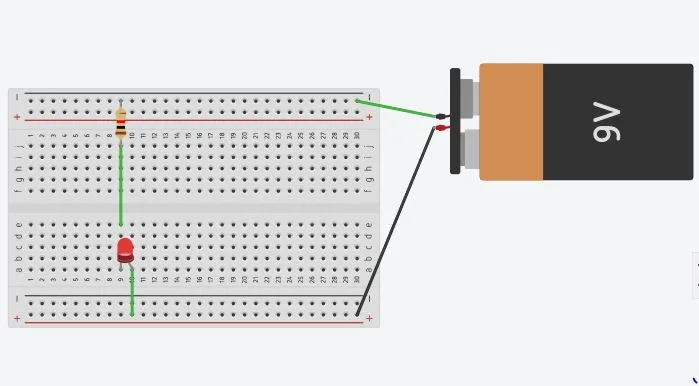
A resistor in the same path limits the current to a safe amount (about 15 mA). It can go before or after the LED.
- Every LED path needs a resistor.
- Never wire + straight to −. That's a short. Batteries get hot fast and USB ports cut out.
- LEDs side by side each get their own resistor. If they share one, one LED hogs the current and burns out.
- Unplug power before moving things.
Which resistor?
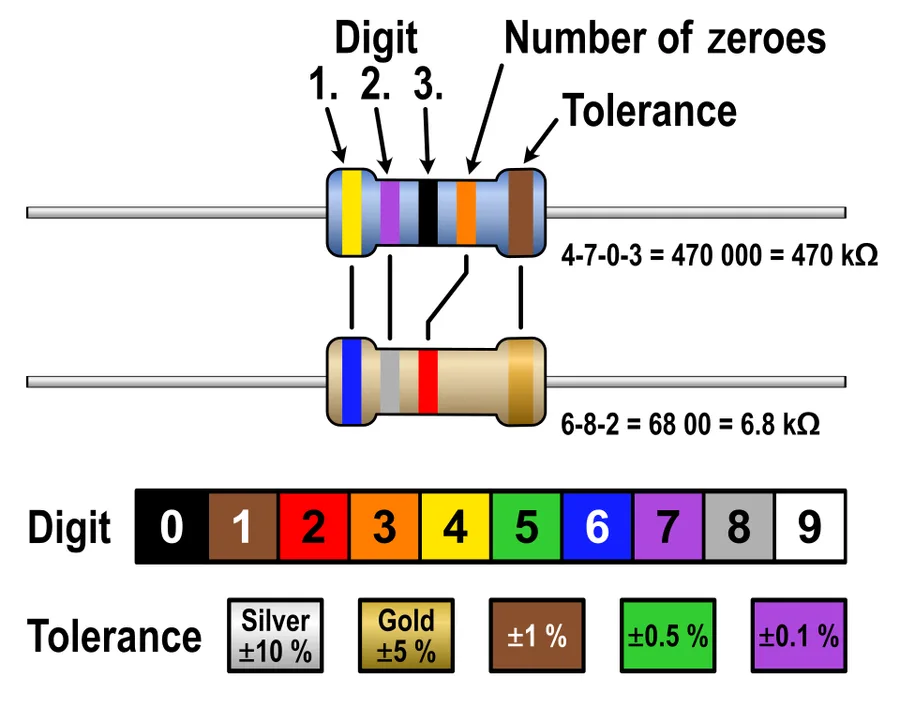
Each red LED uses about 2V. The resistor takes whatever's left over. More LEDs in a row means less left over, so a smaller resistor.
Not sure? 1kΩ (brown black red) is safe for one LED on either, just dimmer.
Power
Pick either one.
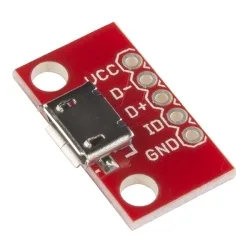
USB (5V): plug the USB board into the breadboard. Wire VCC to + and GND to −. 5V is only enough for one LED per resistor.
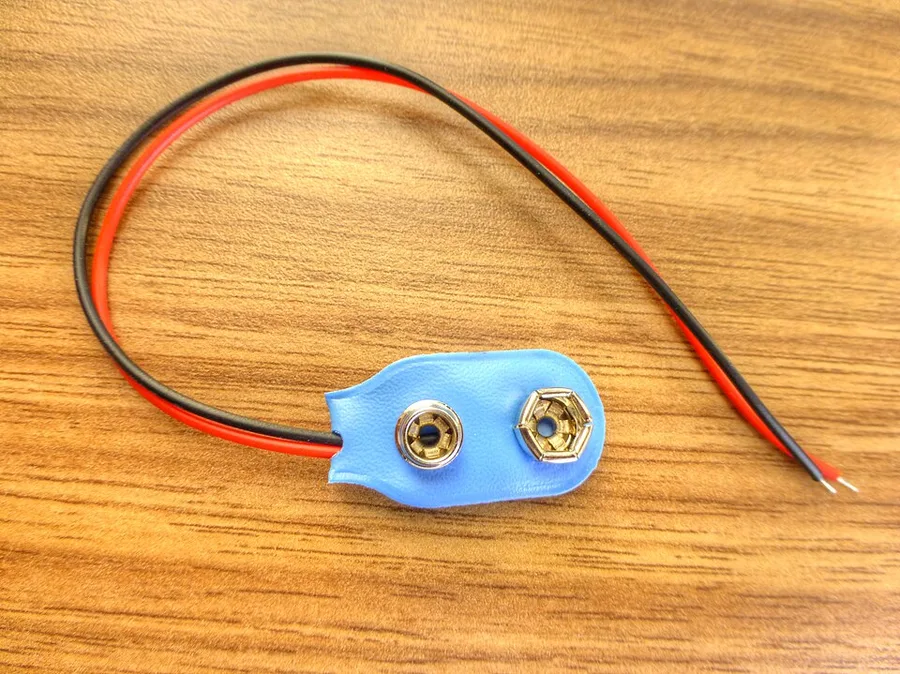
9V battery: snap on the clip. Red wire to +, black to −. 9V is enough for up to 3 LEDs in a row on one resistor, so fewer resistors to place.
Wiring lots of LEDs
In a row (series): one LED's short leg goes into the same 5 holes as the next LED's long leg. The same current goes through all of them, so they share one resistor. 9V only.
Side by side (parallel): each LED gets its own path from + to −, with its own resistor. Works on USB or 9V.
A heart is usually a mix: a few short rows, each with one resistor.